At work · 4 min
Turn a training document into a map people can use.
Your procedures and manuals already hold the knowledge. A five-step workflow turns one of them into a map that trainers can teach from and employees can come back to.
Why the document alone is not enough
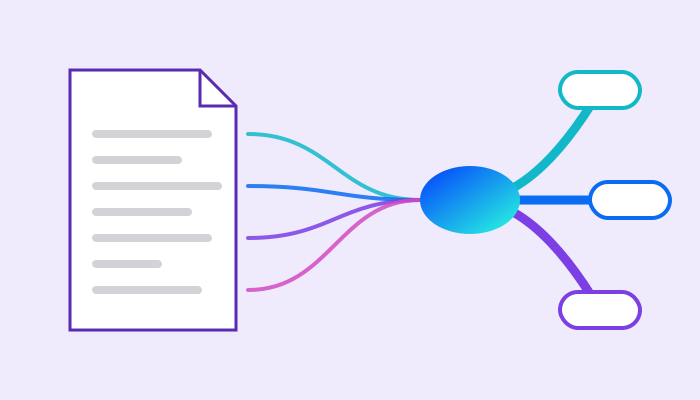
A procedure is written to be complete and correct. It is ordered by topic: scope, safety, set-up, checks, faults. A new employee needs something else. They need to know what to do first, what to check and what to do when something goes wrong. A map lets you keep the document as the authority and give people a route through it.
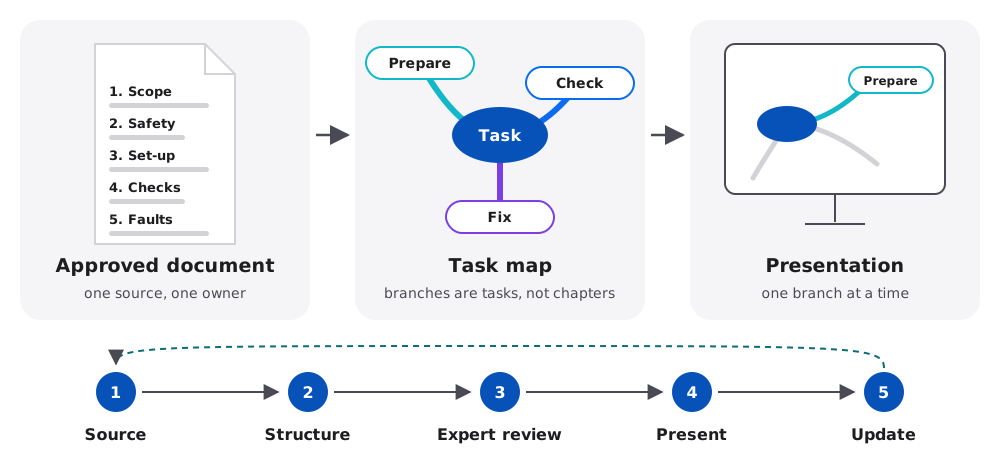
1. Start from one approved source
Choose one document that is already approved, with a named owner and a version date. If three versions of the same procedure exist, settle which one is right before you start. A map built on conflicting sources only makes the conflict harder to see.
Start small: one procedure, one product or one process that changes often or that people find hard. That gives you something to test with a real group within a few weeks.
2. Structure it around the tasks
Before you open the document, write down three to five things a person must be able to do after the training. Those become the main branches. The table of contents does not.
Take a procedure for starting up a packing line. The document runs from scope to faults. The map might have three branches instead:
Prepare
- Protective equipment
- Isolate and clear the line
- Load materials
Check
- Guards in place
- Sensors respond
- Test run at low speed
Fix
- Three common faults
- First response for each
- Who to call
Reference
- Full procedure
- Safety data sheets
- Maintenance log
Note the section number of the source beside each step, such as “SOP 4.2”. Anyone can then check the map against the document, and the reviewer in the next step can work quickly.
In Foramind you can build this structure by hand or create a first draft from your source material, then edit it until the branches match the tasks.
3. Ask an expert to review it
Before anyone learns from the map, ask the person who knows the process best to check three things: is anything wrong, is anything missing, and has anything been simplified until it is no longer safe? Record on the map who approved it and when.
For safety-critical or regulated material, the official document remains the authority. The map helps people find their way through it and does not replace it.
4. Present it one branch at a time
Teach directly from the map instead of copying it into slides. Open one branch at a time. Before you open the next, ask the group what they expect to find there. Wrong guesses show you where the training needs more time.
End the session by asking each person to talk through the map in their own words. If they can explain the route, they can find the detail in the document when they need it.
5. Keep it up to date
Give the map an owner and a review date. When the source document changes, update the map the same week, starting from the document, not from memory. Keep a single copy in your library so that trainers do not end up teaching from different versions.
Ask each group what was unclear after the session. Their answers tell you which branch to improve next.