Learning · 2 min
Create a lesson map for revision.
A practical way to connect what you explain in class with what students revisit afterwards.
Start with one question
Choose the question your lesson should answer. Put it at the centre of the map, rather than using a broad subject title. “How does a plant make its own food?” gives each branch a purpose. Decide what students should be able to explain by the end.
Build the structure before the detail
Create three or four main branches for the ideas needed to answer that question. For photosynthesis, these might be inputs, process and products. Keep the first version small enough to explain without scrolling through a forest of notes. Add examples beneath the idea they illustrate.
Let students make the connections
Pause before opening the next branch. Ask students what they expect to find and how it connects to what they already know. Use their answers to spot missing links. Use the branches to guide your discussion with the class.
Leave a route back into the lesson
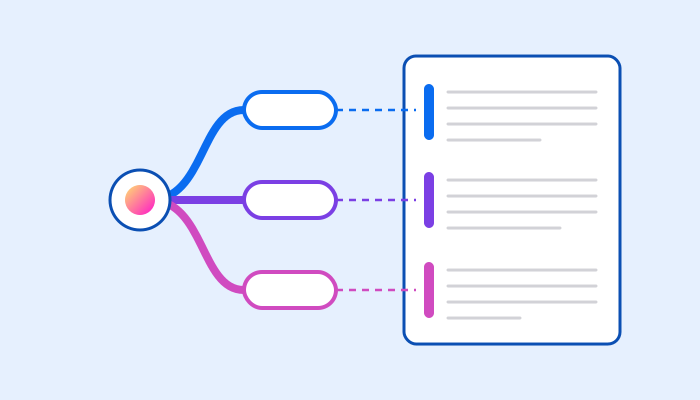
Before sharing, remove preparation notes and check that branch labels make sense without your voice beside them. Add a short question to each main branch. Students can use those questions to explain the topic aloud before reopening the detail.
Begin the next lesson with the same map
Ask students to reconstruct one branch from memory, then compare it with the original. Use the differences to decide what to revisit. Keep the map recognisable as it grows, so the next lesson continues the previous explanation.